Backsplash Tile Installation

The different variety of Backsplash

When choosing backsplash tile, the right material can make all the difference in both style and performance. Each type offers unique benefits, textures, and maintenance needs. Here’s a breakdown of the most common materials and what makes them great options for kitchens and bathrooms:


1. Ceramic Tile

  • Overview: One of the most popular and affordable choices for backsplashes.

  • Benefits: Easy to clean, water-resistant, and available in countless colors, sizes, and finishes.

  • Best For: Homeowners who want a classic, durable option that fits any design style.

  • Maintenance: Low — just regular cleaning with mild soap and water.


2. Porcelain Tile

  • Overview: Similar to ceramic but denser and more durable, making it ideal for moisture-prone areas.

  • Benefits: Resistant to stains, scratches, and heat; often mimics natural stone or wood textures.

  • Best For: Kitchens that see heavy cooking activity or bathrooms with high humidity.

  • Maintenance: Very low — easy to maintain and doesn’t require sealing.


3. Glass Tile

  • Overview: A stylish, light-reflecting material that brightens up any space.

  • Benefits: Adds depth and shine, available in bold colors or subtle neutrals; resists mold and stains.

  • Best For: Modern or contemporary kitchens and bathrooms.

  • Maintenance: Easy to clean, but can show smudges or water spots if not wiped down regularly.


4. Natural Stone Tile (Marble, Travertine, Slate, Granite)

  • Overview: Each piece is unique, offering organic textures and natural color variations.

  • Benefits: Adds luxury and timeless beauty to any backsplash; pairs beautifully with wood or metal accents.

  • Best For: High-end designs or homeowners who love natural, one-of-a-kind materials.

  • Maintenance: Needs sealing to prevent staining and should be cleaned with pH-neutral products.


5. Mosaic Tile

  • Overview: Small pieces of glass, stone, or ceramic arranged in detailed patterns or blends.

  • Benefits: Perfect for creating artistic accents, feature walls, or borders within a backsplash.

  • Best For: Homeowners who want a custom, creative look that stands out.

  • Maintenance: Depends on material type; generally easy to maintain once sealed.

Our Backsplash Installation Process

At Urban Edge Construction, quality and precision come first. We never rush a backsplash project — every step is handled with care to ensure a flawless, long-lasting finish.

1. Planning & Layout

We begin with careful measurements and a detailed discussion about tile selection, layout, and pattern alignment. This step ensures your tiles fit perfectly around outlets, cabinets, and countertops for a clean, balanced look.

2. Surface Preparation

A great install starts with the right foundation. We inspect the wall for flatness and stability, making any necessary repairs, sanding, or adding backer boards to create an ideal surface for installation.

3. Tile Installation

Using the right adhesives and precision tools, we install each tile row by row — paying close attention to spacing, alignment, and detail. Every cut, edge, and corner is finished with accuracy for a seamless result.

4. Grouting & Finishing Touches

Once the tiles are set, we apply grout in your preferred color, then clean and polish the surface to remove haze. For natural stone and similar materials, we also apply a protective sealant to ensure durability and easy maintenance.

Because when it comes to your home, every detail matters — and we make sure it’s done right.

FAQs

Grout type depends on the tile material and joint size. Unsanded grout works best for narrow joints under 1/8”, while sanded grout holds up better in wider gaps. For glass tile or polished stone, use non-abrasive grout to avoid scratching. Epoxy grout offers extra durability and stain resistance but is harder to apply.

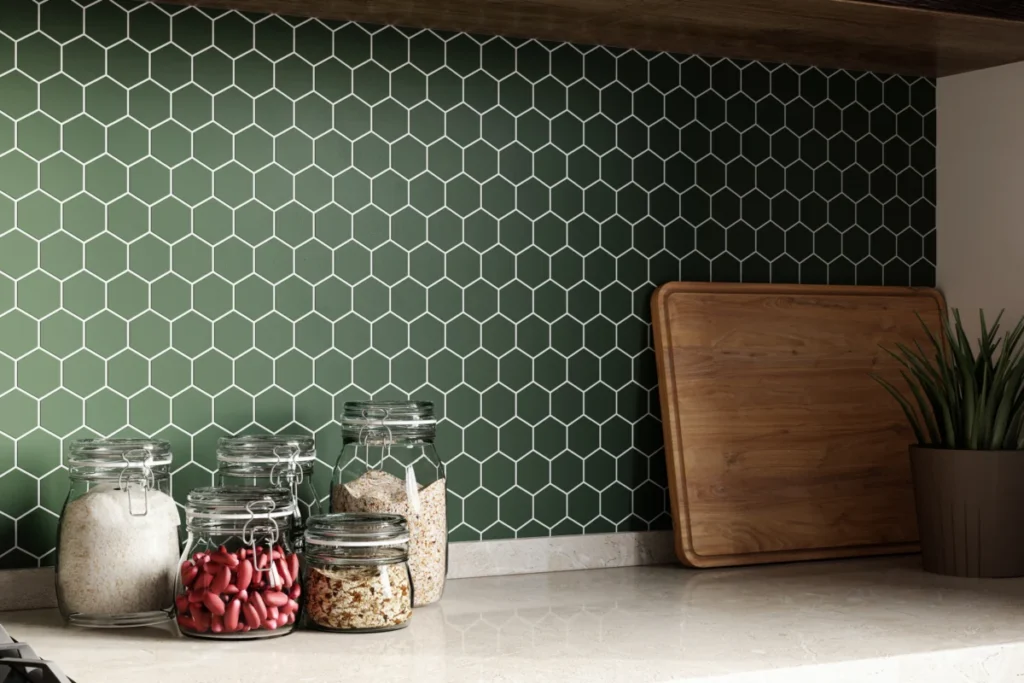
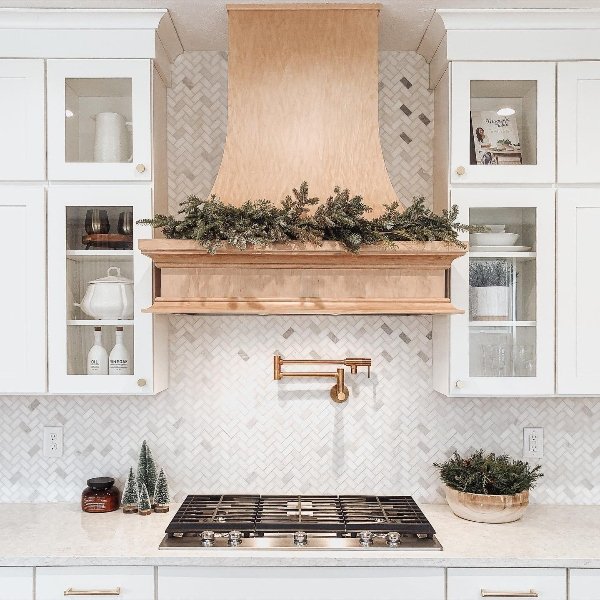
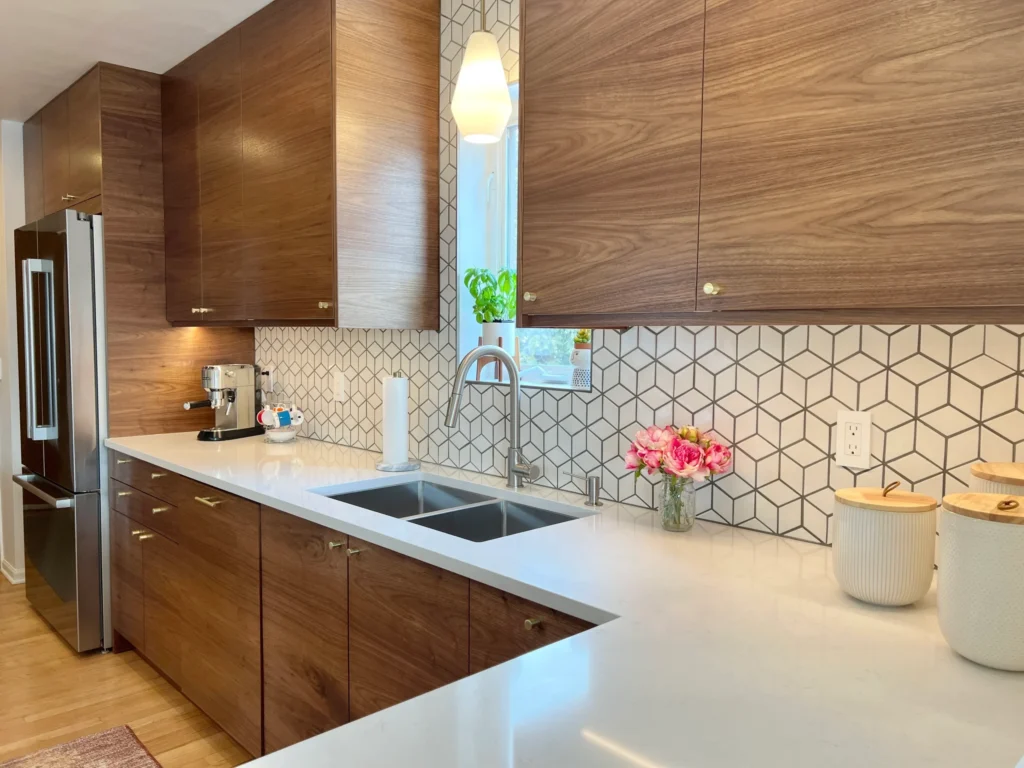
Tile size plays a big role in the look and function of your backsplash. Larger tiles create a cleaner, more modern feel with fewer grout lines, making them easier to clean. Smaller tiles, like mosaics, add texture, detail, and flexibility for fitting around outlets or tight spaces. Choosing the right size helps balance your design, minimize waste, and ensure a smooth, professional installation.

For an average kitchen backsplash (around 20–30 sq ft), installation typically takes 1–2 days. Day one covers layout, tile setting, and cleanup. Grouting is usually done the day after the adhesive cure. More complex patterns or stone materials can extend the timeline.

Call Now